Exporting Data
- 01 Feb 2025
- 2 Minutes to read
- Print
- DarkLight
Exporting Data
- Updated on 01 Feb 2025
- 2 Minutes to read
- Print
- DarkLight
Article summary
Did you find this summary helpful?
Thank you for your feedback!
The Export Screen
You can export your data in the mobile app through the "Export" screen or through our web app (limited export options). Exporting your data lets you share your expenses and drives with your accountant or consultant. Only you will be able to see your export history.
Click here to view export types and previews.
Ways to share an export
Excel/CSV: Email
Report/Invoice PDF: Email, share link, direct download
Summary PDF: Email, share link, direct download
How to export data
Available export filters: User, Total, Report, Has Receipts, Missing Receipts, Vendor, Category, Payment Method, Tax-deductible, Nondeductible, Income Category, Client, Drive Class, Vehicle, Location, Include Expenses, Include Incomes, Include Drives
Mobile App
Tap the “Dashboard” tab (bottom-left) or gear icon (top-left)
Tap “Download Data”
Select an export type
Tap the date to select a date range and apply any “Filters” if needed
Tap “Advanced Options” for: Download images (Not available for Summary PDF), Split By User (Excel/CSV only)
Tap the blue export button to view a preview and then again to export it (Excel/CSV doesn’t have a preview)
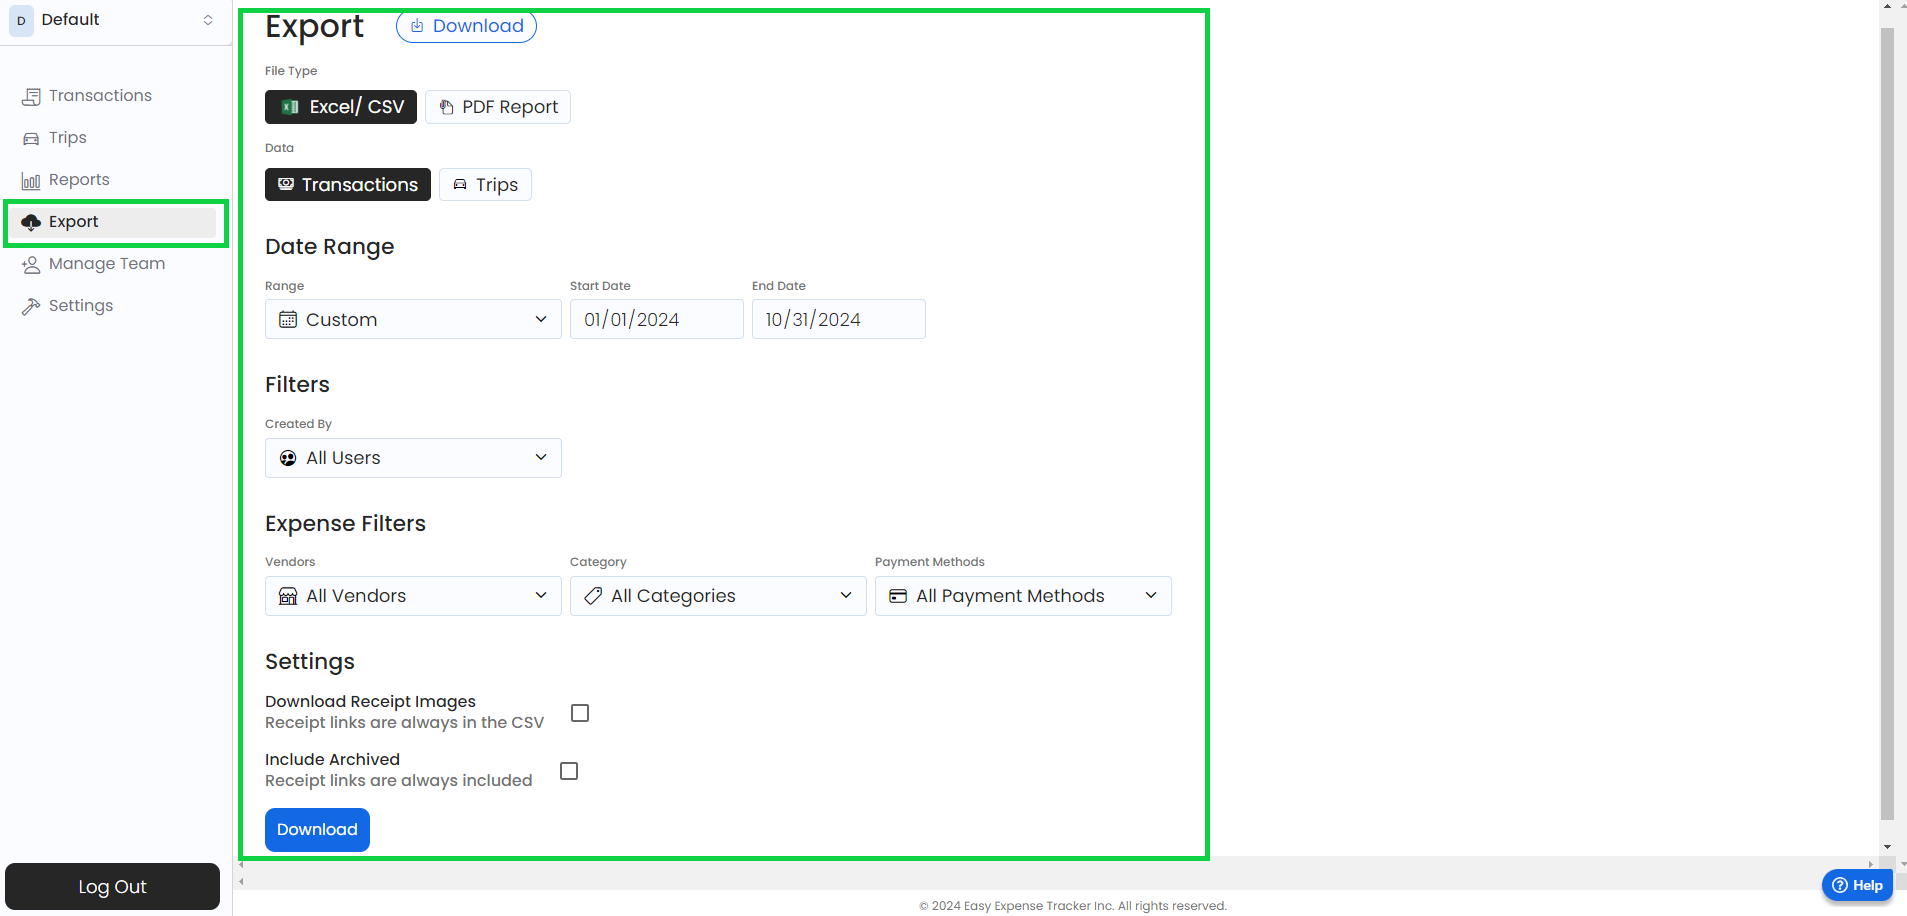
Web App
Open the web app
Click on “Export”
Select the file type
Select the data you want to export (Transactions or Drives)
Select the date range
Apply the desired filters
Select any desired additional settings
Click on “Download”
For older app versions
To get to the export screen
Tap the gear icon (top-left)
Tap "Download Data"
Select an export format
Customize export if needed
Tap the blue export button at the bottom
To export drives via CSV
Tap the gear icon (top-left)
Tap "Download Data"
Select "Excel/CSV"
Tap "Export - Expenses"
Select "Drives as Excel/CSV"
Customize export if needed
Tap the blue export button at the bottom
To export your data via email
Enter the recipient's email (top)
Customize the export if applicable
Tap the blue export button at the bottom
To change the export type
Tap "Export Format" at the top
Select the desired export type
To change the date range (month, quarter, year, etc.)
Tap "Range"
Select the desired range
Tap the date to select the desired date
To directly download a report via Export History
After exporting a report via email, return to the export screen
Tap "History" (top-right)
Tap the desired export to download it
This will directly download the export to your device.
To exclude or only export certain transaction types (e.g., tax-deductible only, trips, income, expenses, etc.)
Tap the “Dashboard” tab (bottom-left)
Tap “Download Data”
Tap the desired export type
Tap “Filters”
Scroll down and uncheck the transactions you want to exclude (E.g., “Nondeductible”, “Include Income”, “Include Trips”)
Tap “Apply Filters”
Tap the blue export button
To include or exclude receipt images
Mobile app: Tap “Advanced Options” and enable “Download Images” to include images. Uncheck it to exclude images, as it’s enabled by default.
Web app: Check the “Download Images Separately” box before exporting data to include images.
To directly download recent exports (mobile app only): On the export screen, tap “History” (top-right) ➜ tap any recent exports to download it. If it is a red exclamation mark, please contact customer support.
Walkthrough Demos
Demos for older app versions
Report PDF (receipt images included)
Summary PDF
Excel/CSV
Was this article helpful?