- 07 Mar 2025
- 1 Minute to read
- Print
- DarkLight
Creating Custom Reports
- Updated on 07 Mar 2025
- 1 Minute to read
- Print
- DarkLight
Custom Reports
To create a custom report
You can create custom reports to organize, share, and export transactions for various clients, subcategories, properties, etc.
Reports can be used for labeling transactions, tracking transaction types, creating income/expense reports, or for very basic invoicing.
Mobile App
To Create New Reports
Tap the "Reports" tab (bottom-right)
Select "Add Report"
Tap "Report #" to rename
Under "Client" add the name of the client, property, category, etc.
Toggle "Visible to me and managers" to give members access to the report
Toggle "Automatically add new expenses" on to add any new expenses to that report
Tap "Save" (top-right or bottom of screen)
To Add Transactions to a Report
From the "Reports" tab
Tap the report you want to add to
Tap "Add/Remove Items"
Select the transactions you would like to add or remove
Tap "Done" (top-right)
From existing transactions
Tap the transaction you wish to add
Tap "Report"
Select the report you want to add to
Tap "Save" (bottom-right)
From new transactions
Scan a receipt, review a transaction from synced accounts, or manually add a new transaction
Tap "Report"
Select the report you want to add to
Tap "Save"
To Send or Share a Report
Tap the "Reports" tab
Tap the report you want to share
Tap "Share"
Select a sharing method or download the .PDF or .CSV file
To Change the Report Status
Tap the "Reports" tab
Tap the report
Tap "Edit" (bottom-right)
Tap "Status"
Set report status as Unsent, Sent, or Completed
Web App
Default report
Setting a report to default, will add that report to all new expense transactions. We do not have defaults for drives or income transactions yet.
Setting a default report
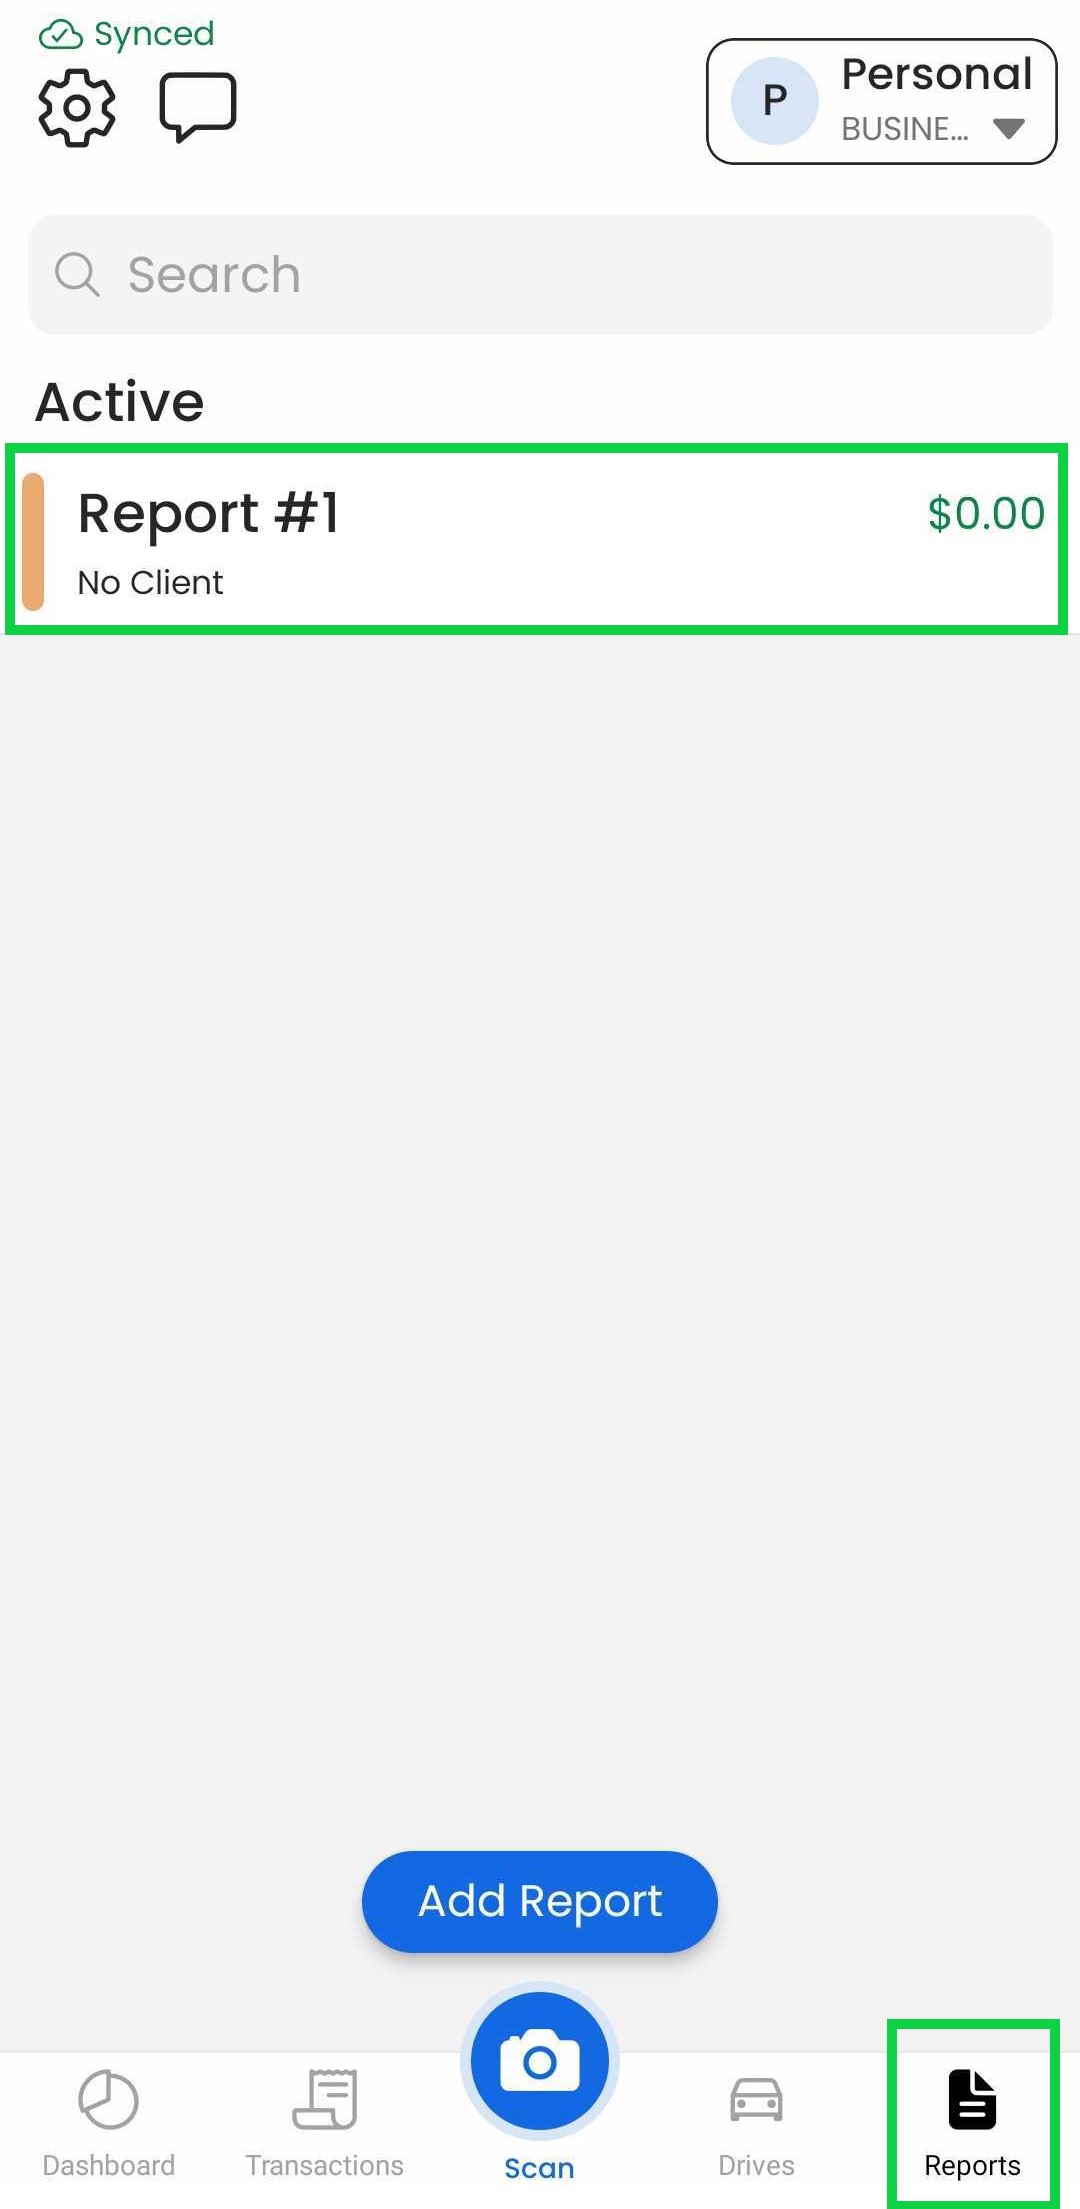
Tap on the “Reports” tab
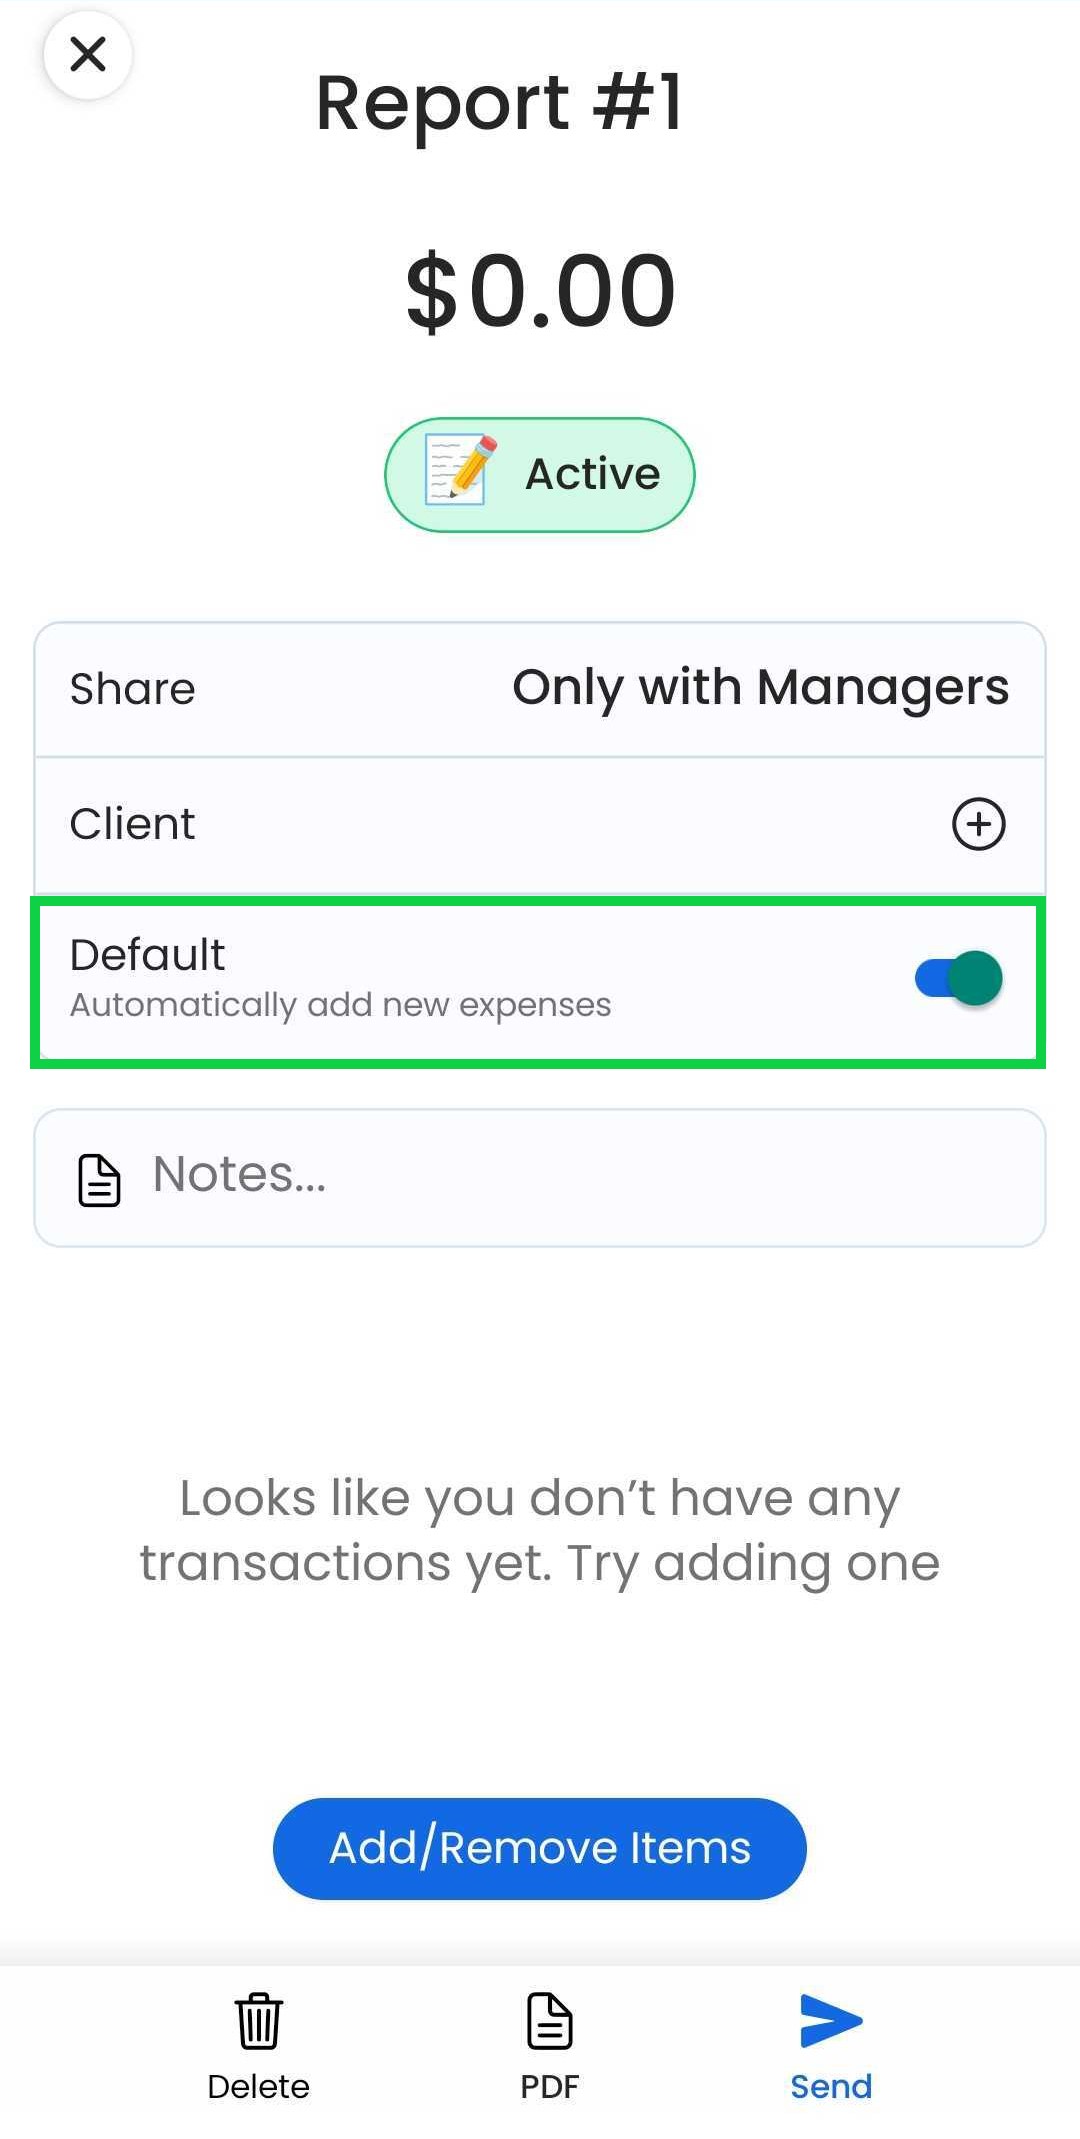
Tap on a report

Toggle on the “Default” switch

Removing a default report
Tap on the “Reports” tab
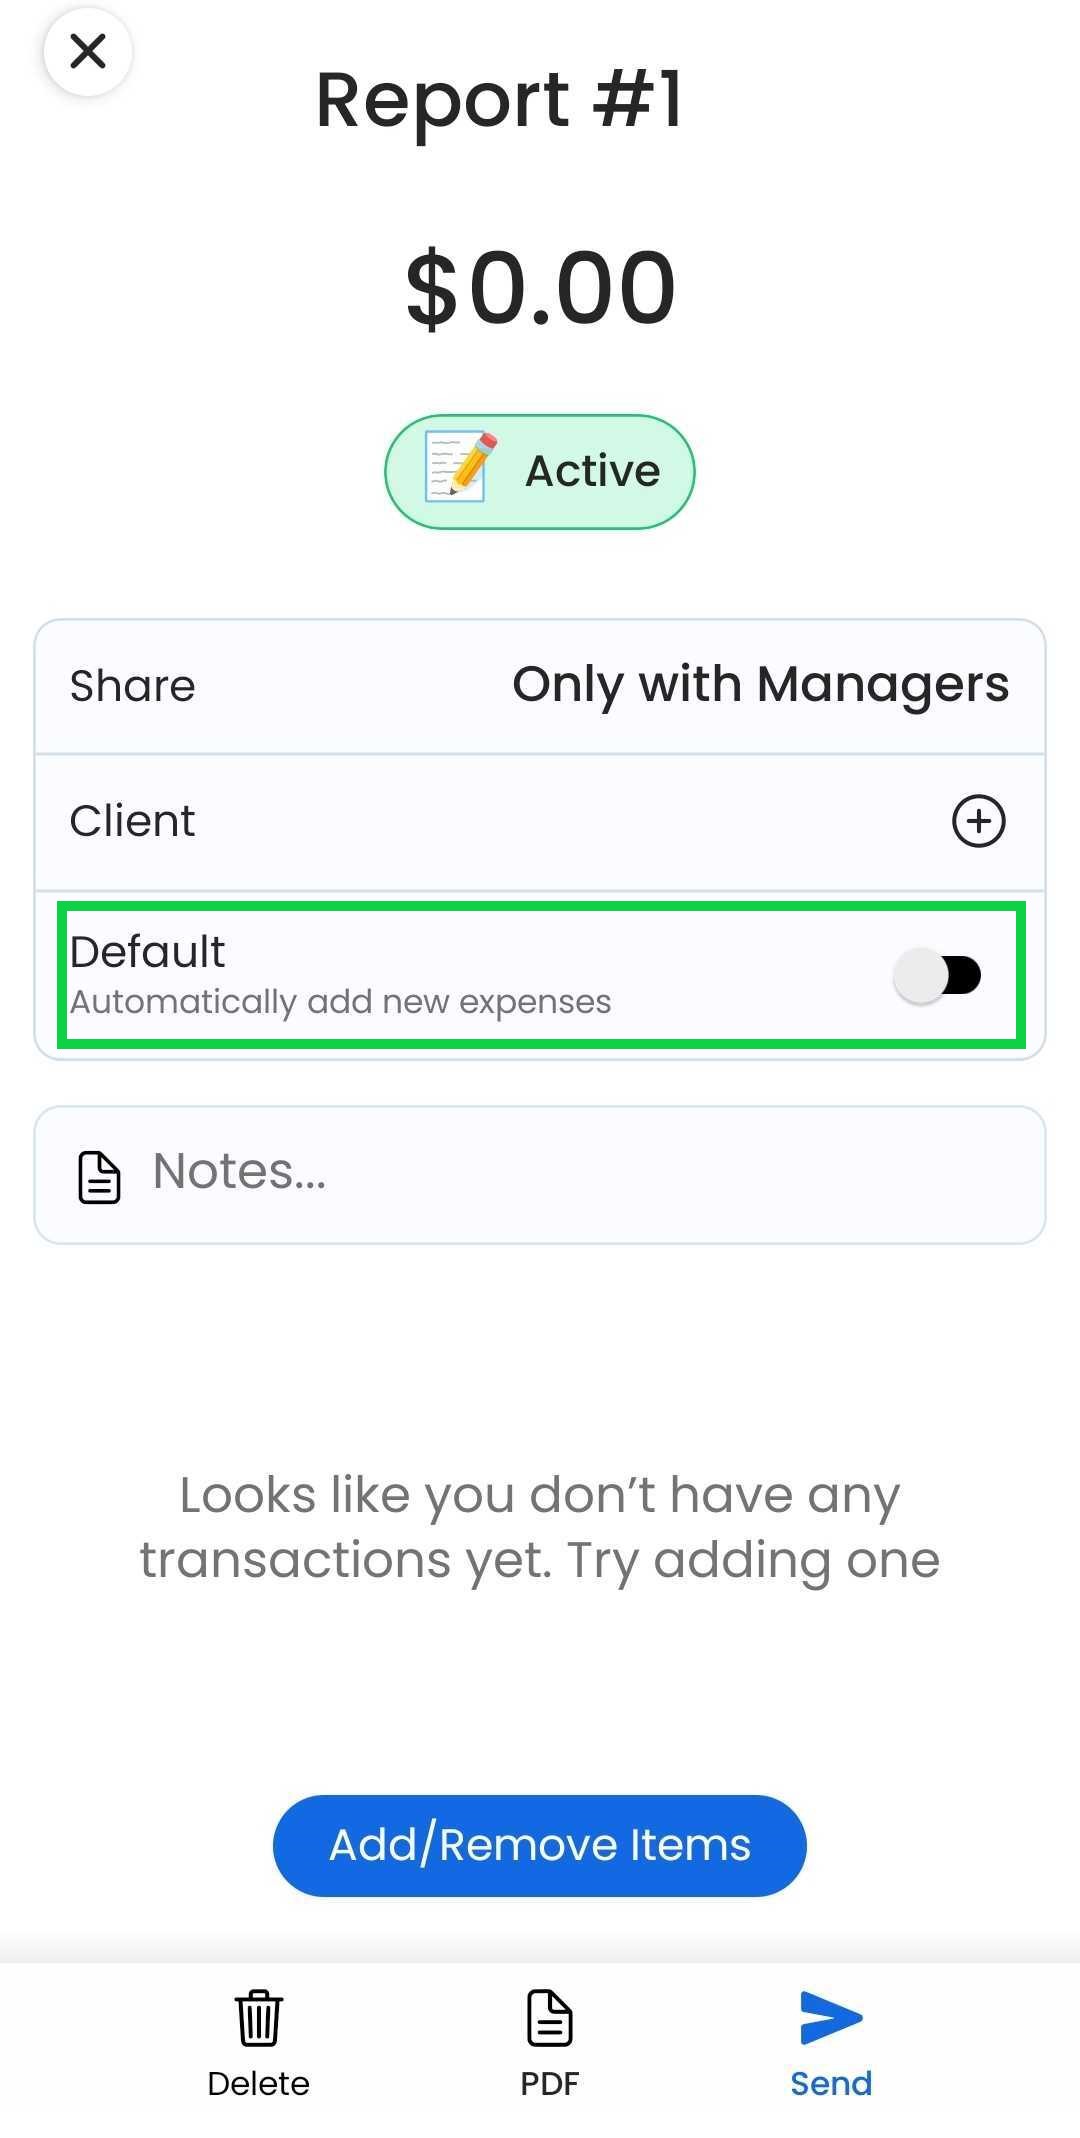
Tap on your current default report
.jpg)
Toggle off the “Default” switch


