- 31 Oct 2024
- 1 Minute to read
- Print
- DarkLight
Tracking Mileage
- Updated on 31 Oct 2024
- 1 Minute to read
- Print
- DarkLight
Keep track of your work-related drives to maximize your tax return. You can add drives manually or have the Easy Expense app track your drive using GPS Auto Tracking. This feature is only available on our Mobile App
When tax season arrives, you can export your drives to make it easy to organize your mileage for the year.
Auto Tracking
Auto Tracking allows for more accurate monitoring by using GPS tracking to log the route you actually take, including detours and pit stops.
To Enable Auto Tracking
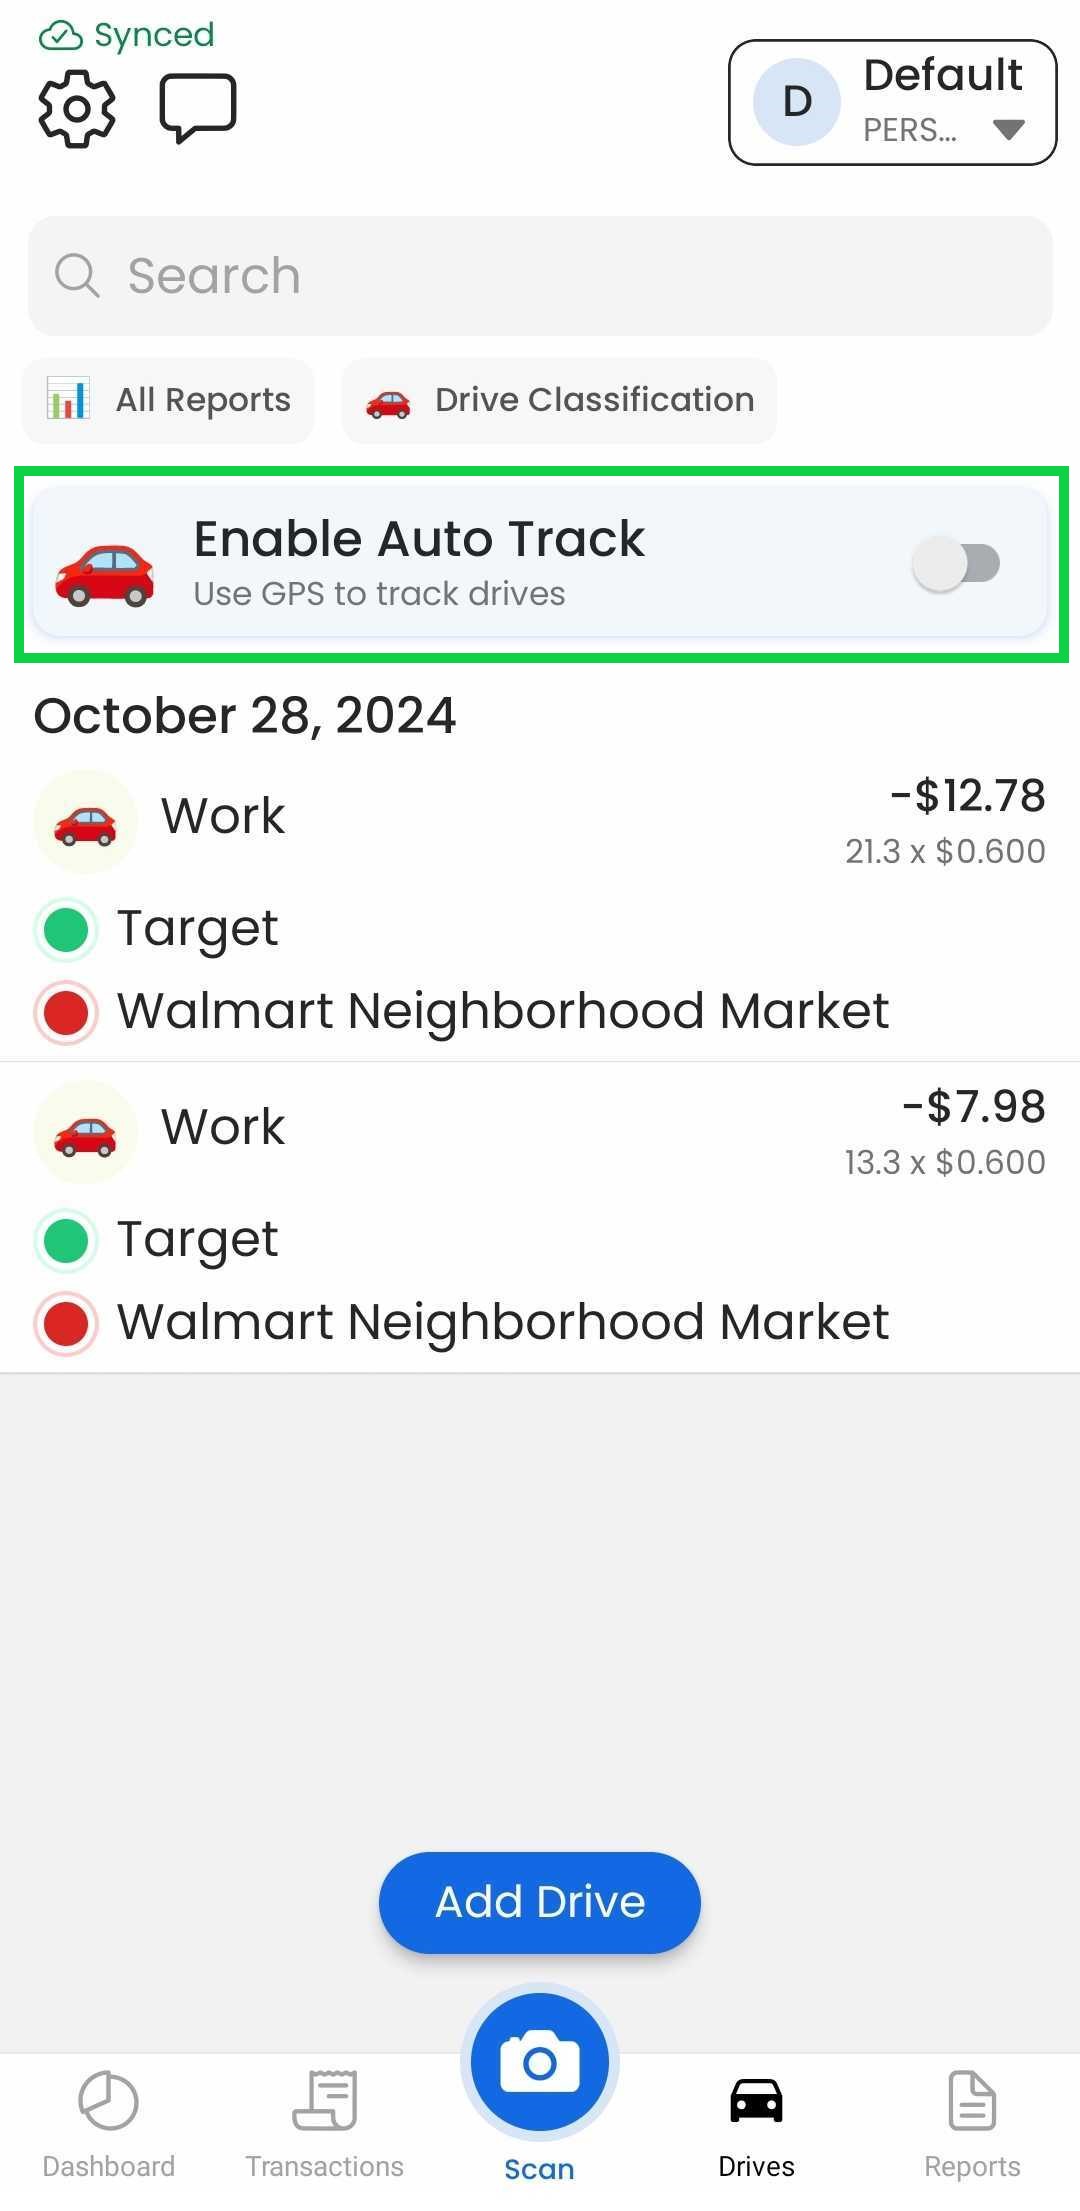
Tap the "Drives" tab
Toggle "Enable Auto Tracking"

Change the app's location permission to "Always"
Start driving
Reviewing Auto Track Drives
With Auto Track enabled, the Easy Expense app will detect when you start driving and automatically log your drives. These drives are not immediately added to your "Drives" tab. Instead, they are stored for you to review at your convenience, much like transactions from synced bank accounts or synced emails.
To Review Your Drives
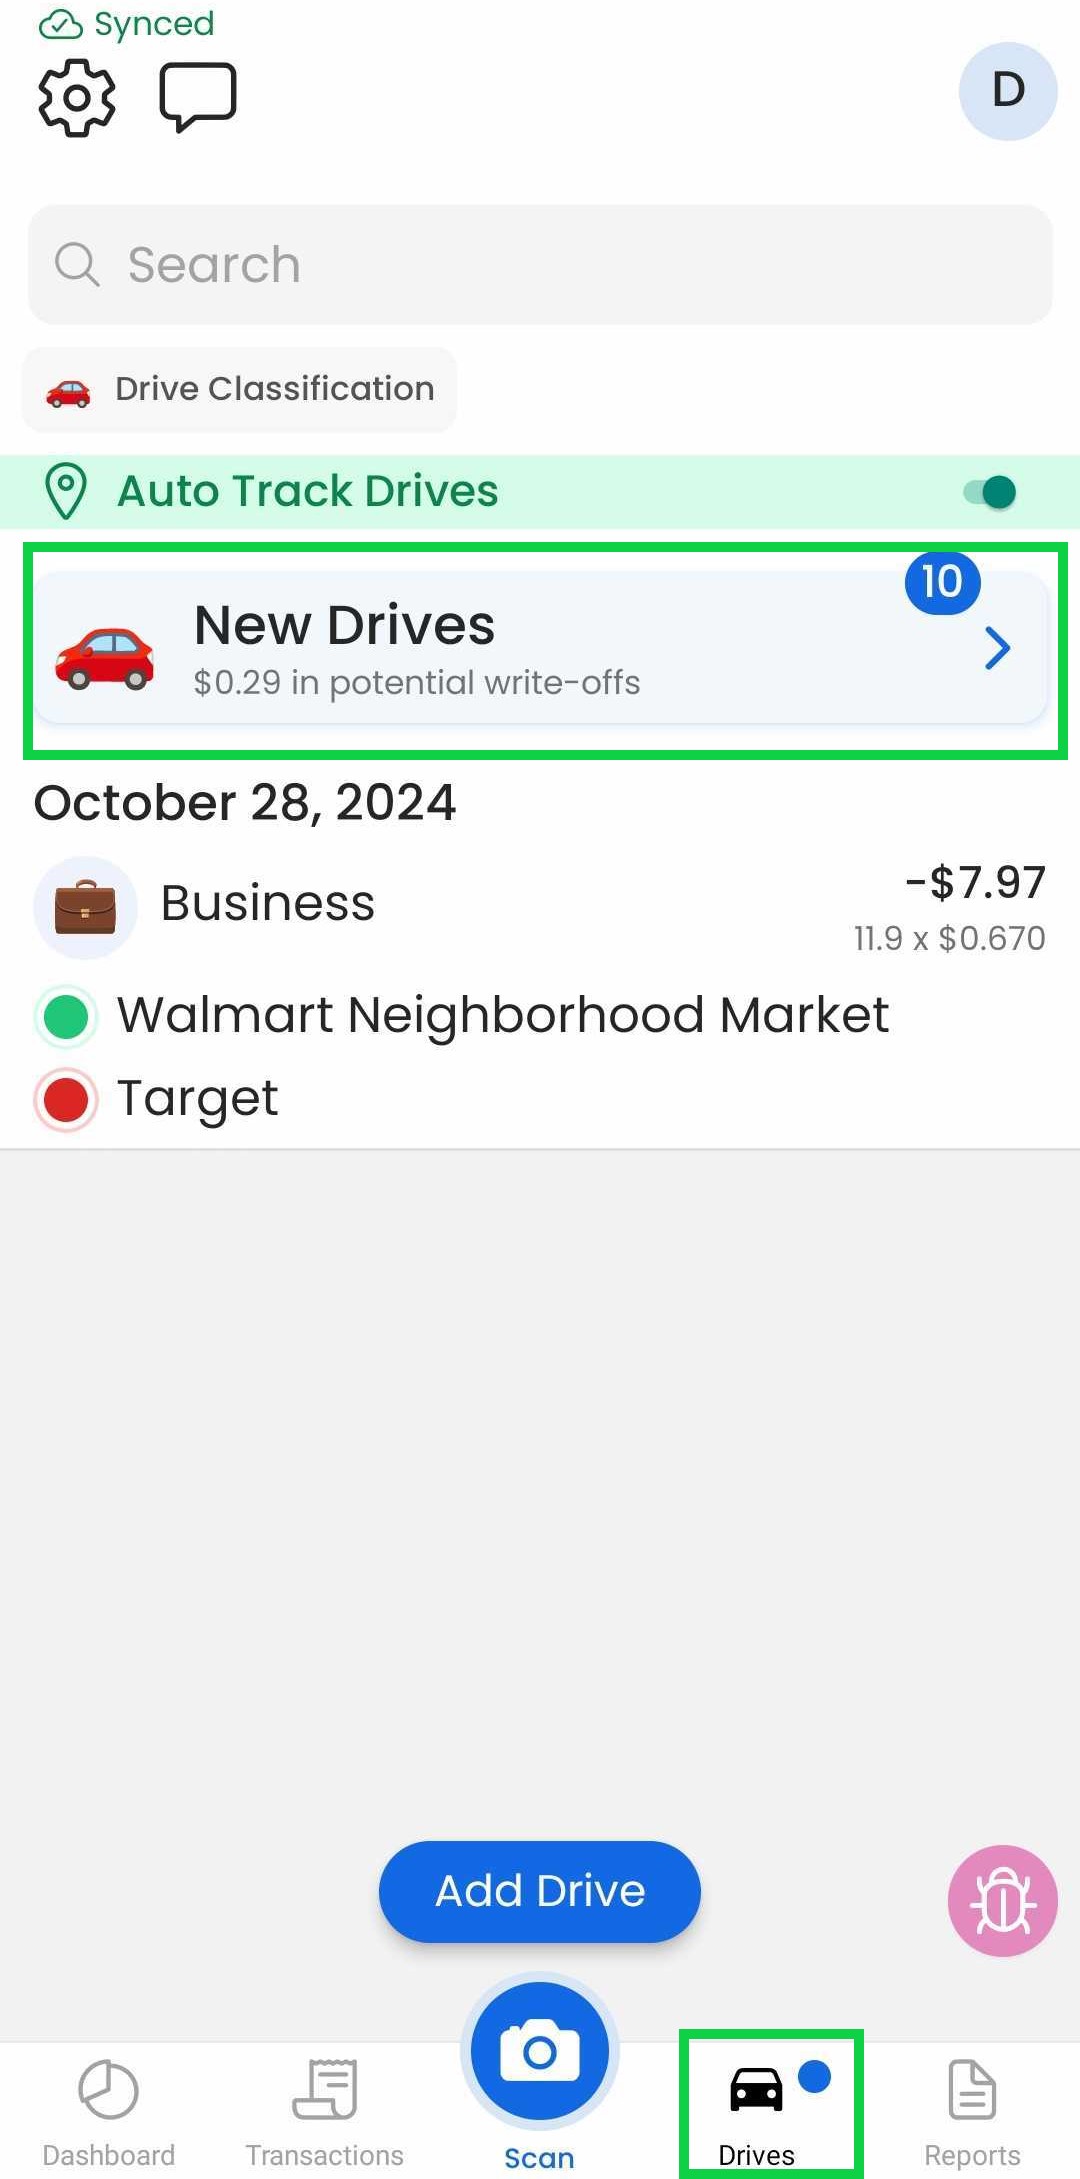
Tap the "Drives" tab
Tap "New Drives"

Edit drive details if needed
Tap "Save"
You can also skip or delete a drive review. Deleted drive reviews cannot be restored
Exporting Mileage Reports
Whenever you require a summary of your drives, you can export a mileage report as a CSV file. Mileage reports are available for monthly, quarterly, annual, all-time, or custom date ranges.
To Export Mileage Reports
Tap the "Dashboard" tab or tap the gear icon
Tap "Download Data"
Select "Excel/CSV"
Tap "Export"
Select "Drives as Excel/CSV"
Tap "Range" to select the date range
Tap "Advanced Options" to include archived (deleted) drives or to split the data by user
Tap "Export"
Exporting Expense Reports
You can also download a PDF copy of your expense report for the month, quarter, year, or custom date range. All drives added during this period will appear on the expense report under the "Trips" heading.
To Export a PDF Expense Report
Tap the "Dashboard" tab or the gear icon
Tap "Download Data"
Tap "Report/Invoice"
Tap "Range" to select your date range
Tap "Download or Share"
Select how you would like to receive the report (via email, a share link, or by downloading to your device)

